


No gym. No equipment. No excuses.
Just 20 minutes and a bit of floor space.
This workout hits your entire body — legs, upper body, and core — using nothing but your own bodyweight. It's structured with a proper warm-up, a four-exercise main circuit, and a cool-down stretch. Follow it 3–4 days a week and you will see results.
The most common reason people don't train consistently isn't lack of motivation — it's the friction of getting to the gym, changing, waiting for equipment, and commuting back. Remove that friction entirely and consistency becomes dramatically easier. This session was designed to be the lowest-barrier, highest-return workout possible: it requires nothing, takes less time than most commutes, and produces real strength and conditioning improvements when done with genuine effort.
How the 20 Minutes Break Down
Who This Is For
- Anyone who wants to stay active on days when the gym isn't an option
- Beginners building the habit before committing to a full program
- People with 20 minutes and limited space who still want a real workout
- Anyone who wants to add extra movement to their week without overtraining
Warm-Up — 4 Minutes
Never skip this. A proper warm-up raises your core temperature, increases blood flow to the muscles you're about to use, and prepares your nervous system for higher-intensity output. Going straight into hard work cold significantly increases injury risk — research published in Sports Medicine (Woods et al., 2007) found that dynamic warm-up protocols meaningfully reduce the incidence of muscular injury in subsequent exercise. Four minutes is a small investment for that protection.
Each movement in this warm-up is chosen deliberately. Marching in place elevates heart rate and breathing without creating fatigue. Arm swings and shoulder rolls lubricate the glenohumeral joint before the pushing work in the circuit. Hip circles and leg swings mobilise the hip joint through its full range — critical before the squats and lunges ahead. The slow bodyweight squats double as a final mobility check: if something feels restricted before you add intensity, you'll catch it here. Cat-cow and forward fold decompress the spine and activate the posterior chain. Don't rush through these — controlled, deliberate movement in the warm-up directly improves the quality of the work that follows.
Main Circuit — 14 Minutes
Four exercises. 40 seconds of work, 20 seconds of rest on each. Complete all four in order — that's one round. Rest 60 seconds between rounds, then repeat. Two full rounds equals 14 minutes.
The 40/20 format is deliberate. Forty seconds is long enough to create meaningful metabolic and mechanical stress on the target muscles, but short enough that you can genuinely push hard for the entire interval rather than pacing yourself through a longer set. The 20-second rest keeps the session time-efficient without allowing full recovery — this slightly elevated baseline fatigue across rounds is what produces both the strength and cardiovascular conditioning effects simultaneously. Research on circuit-based resistance training (Gibala et al., 2012) confirms that this kind of high-effort interval format produces adaptations in both muscular and aerobic systems within short session windows. The four exercises were selected to cover the complete body in a balanced push-pull-lower-core sequence, so no muscle group is overtaxed while others are resting.
The format: 40 sec work → 20 sec rest → next exercise. After exercise 4, rest 60 sec → repeat from exercise 1.
Exercise 1 · Legs & Core
Slow Squat to Calf Raise
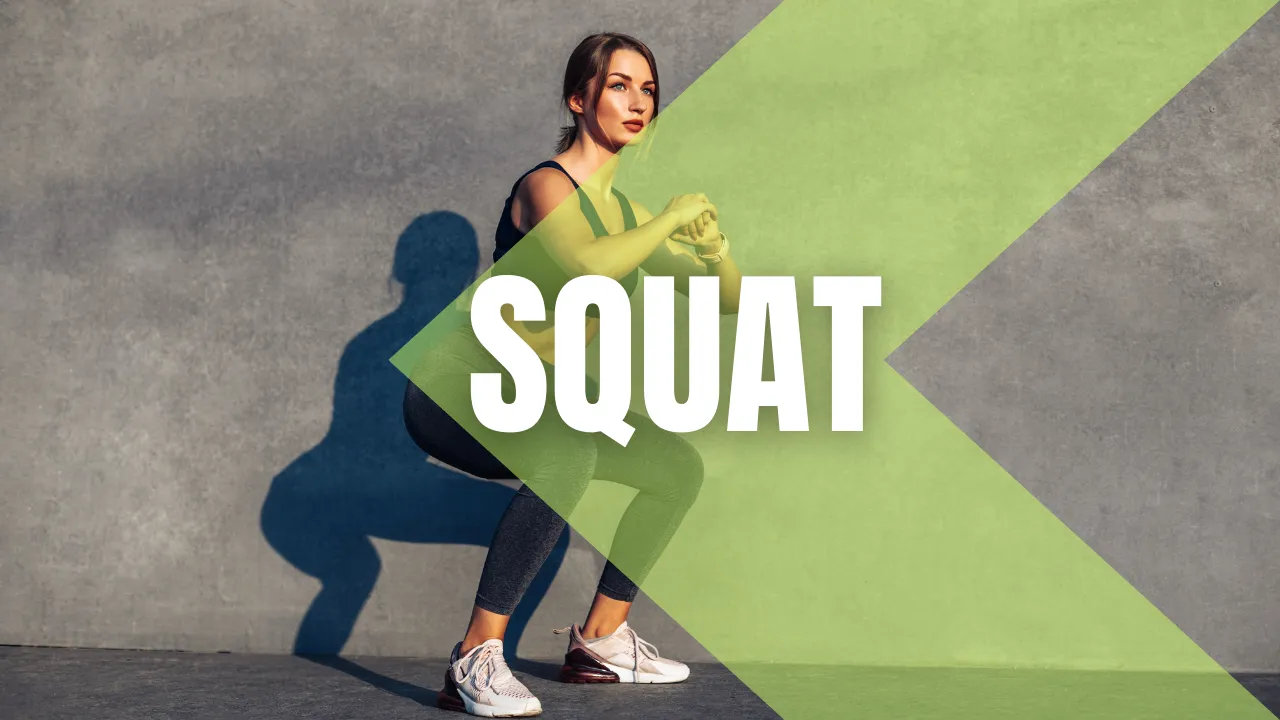
This combines a slow eccentric squat with a calf raise at the top — covering your entire lower body in a single integrated movement. The slow descent (three counts down) is the key technical element: it increases time under tension, which is one of the primary mechanisms of muscle hypertrophy identified in resistance training research (Schoenfeld, 2010). When you don't have access to added weight, slowing the eccentric phase is the most effective way to increase the training stimulus of a bodyweight exercise without any equipment.
The calf raise added at the top of the movement addresses the gastrocnemius and soleus — muscles that a standard squat does not train significantly. These muscles are critical for ankle stability, running efficiency, and explosive lower body power. By combining them into one fluid movement, you train the entire leg from hip to ankle within the single 40-second interval, making this the most efficient lower body exercise in the circuit.
Focus on heel contact throughout the descent — if your heels rise off the floor at the bottom, widen your stance slightly or reduce depth until your ankle mobility improves. The transition from squat to calf raise should be smooth, not rushed. The quality of each rep matters more than the total number you complete in the interval.
How to do it
- Stand feet shoulder-width apart, chest up, core braced
- Lower into a squat over 3 slow counts — push hips back, knees track over toes
- Pause briefly at the bottom, then drive through your heels to stand
- As you reach the top, rise onto your toes for a full calf raise
- Lower heels, repeat
Too easy? Add a pause at the bottom for 2 seconds. Too hard? Skip the calf raise and just focus on the squat form.
Exercise 2 · Upper Body Push
Incline Push-Up Progression
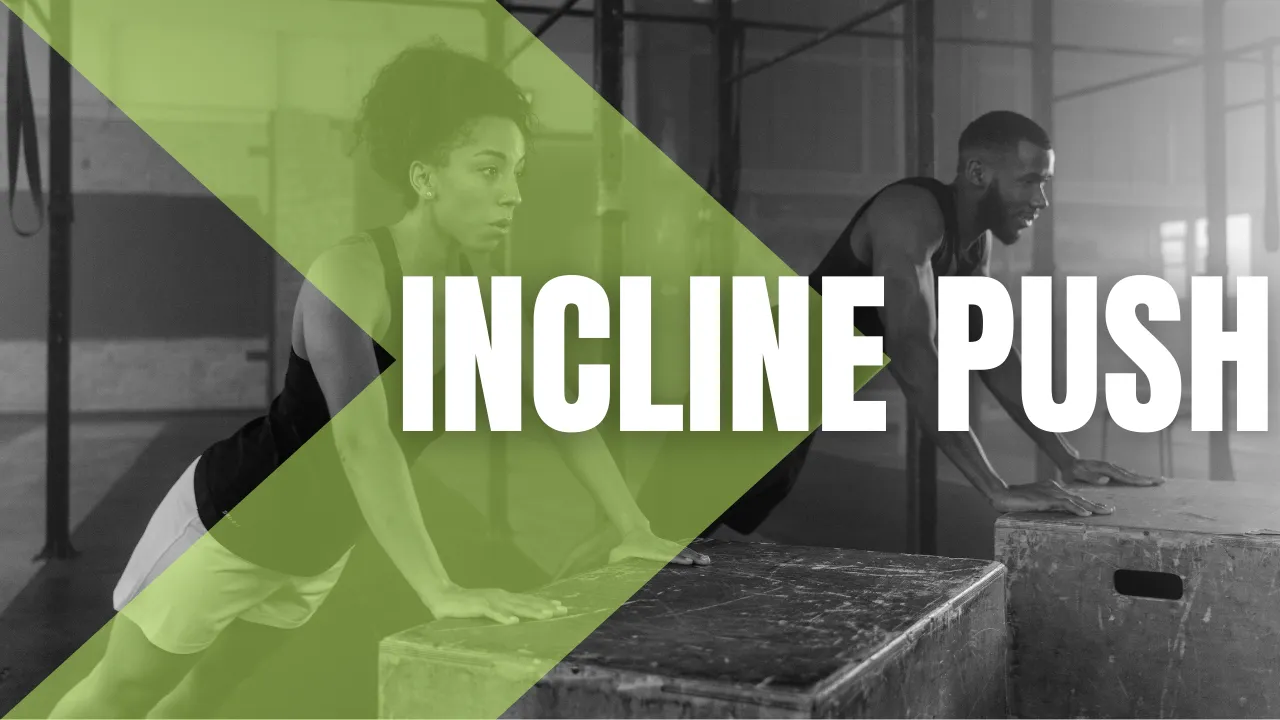
This exercise scales to your current strength level using the physics of incline angle. The higher the surface your hands are on, the more of your bodyweight your legs support and the less load transfers to your upper body — making the push-up progressively easier as incline increases. A wall push-up uses perhaps 20–30% of your bodyweight. A full floor push-up uses approximately 65–70%. By starting at the appropriate level, every person can do a version of this exercise that creates real training stimulus from day one, rather than struggling through poor-form floor push-ups or skipping pressing entirely.
The push-up trains your pectorals, anterior deltoids, and triceps simultaneously while requiring your core to maintain a rigid plank position throughout. This co-contraction of the core with the upper body press is one of the reasons push-ups are more functional than many machine-based pressing exercises — they train the full kinetic chain from shoulder to hip in one integrated movement. EMG research has confirmed that proper push-up execution produces high levels of pectoralis major and triceps activation comparable to bench press variations at equivalent relative intensities.
The most important technical cue regardless of your level: your body must maintain a straight line from head to heels (or head to knees at the modified levels). The moment your hips sag or pike, your core has failed to hold the position and the exercise becomes both less effective and harder on your lower back. If you can't hold the line, regress to the next level up rather than continuing with compromised form.
Progression levels
- Level 1: Hands on wall — easiest, great for complete beginners
- Level 2: Hands on a sturdy chair or countertop
- Level 3: Knee push-ups on the floor
- Level 4: Full push-ups on the floor — goal position
Keep your body in a straight line throughout. Don't let hips sag or pike up — that's your core losing the position.
Exercise 3 · Legs & Balance
Reverse Lunge with Knee Drive
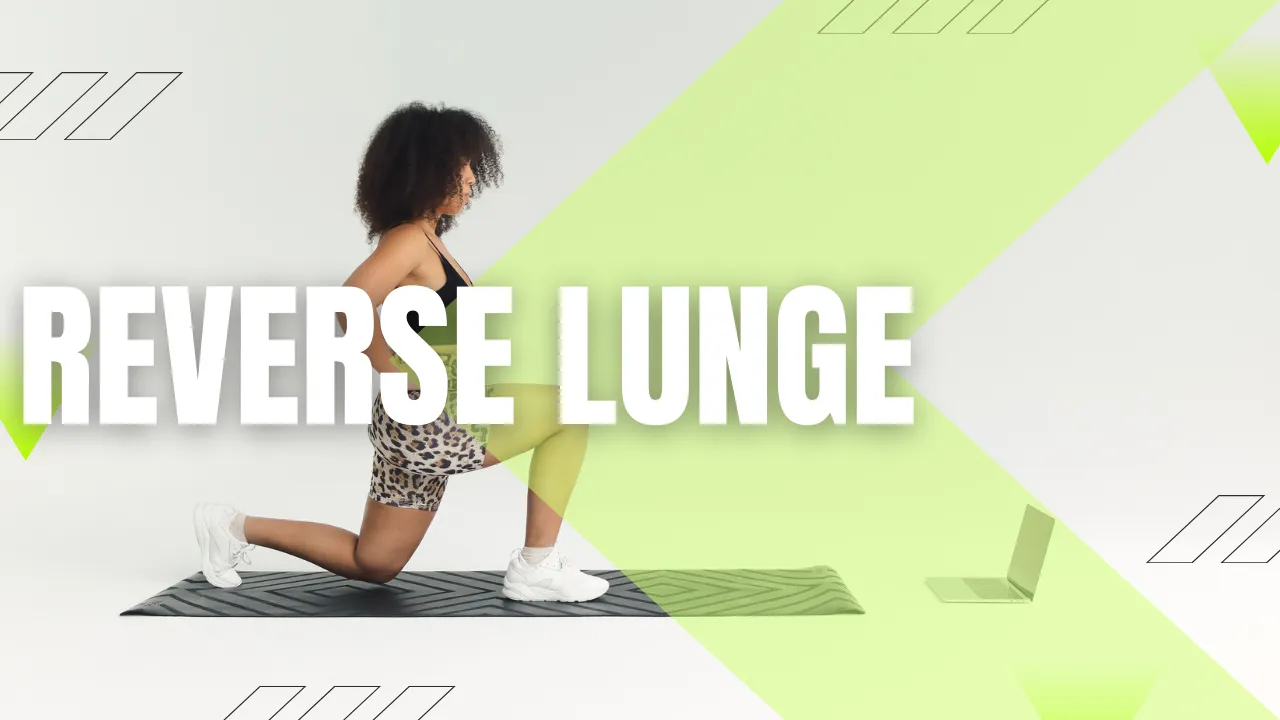
The reverse lunge is chosen over a forward lunge for a specific biomechanical reason: stepping backward keeps more of the load over the front heel throughout the movement, which reduces shear forces at the knee joint and makes it significantly more accessible for beginners or anyone with knee sensitivity. The forward lunge creates a more pronounced forward shin angle that increases patellar tendon load — not dangerous if done correctly, but more demanding on the joint and less forgiving for beginners learning the pattern.
The knee drive added at the top of the movement transforms a simple strength exercise into a coordination and balance challenge. As you drive the back knee forward and up toward your chest, you must balance on one leg and resist the tendency to lean forward or sideways — this recruits the hip stabilisers, the gluteus medius, and the deep core muscles to maintain upright posture. Hip flexor strength, which the knee drive directly trains, is frequently underdeveloped in people who sit for most of the day and is a limiting factor in running speed and stride efficiency.
Alternate legs throughout the 40-second interval — right leg step back, drive right knee up, then left leg step back, drive left knee up. Keep your upper body tall and your front shin as vertical as possible during the lunge. If the balance challenge of the knee drive is too demanding initially, simply step back, return to standing, and alternate without the knee drive until you build the coordination for the full movement.
How to do it
- Stand tall, hands on hips or arms at sides
- Step one foot back and lower your back knee toward the floor
- Keep your front shin vertical and your chest up
- Drive through your front heel to return — as you rise, drive your back knee up toward your chest
- Lower that foot back to the starting position and alternate legs
If balance is a challenge, keep one hand on a wall for support and focus on the lunge movement before adding the knee drive.
Exercise 4 · Core & Stability
Plank to Alternating Shoulder Tap
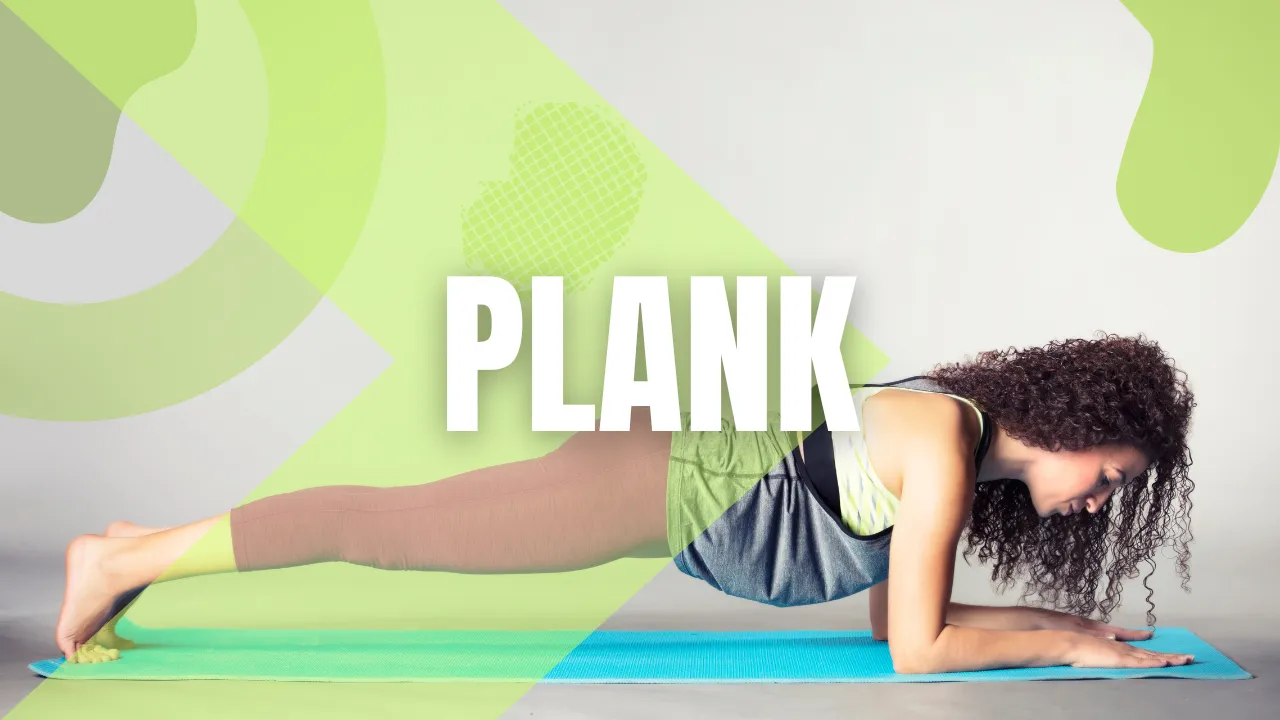
The shoulder tap plank is significantly more demanding than a static hold because it introduces an anti-rotation challenge on every single rep. Each time you lift one hand off the floor, your body's centre of mass shifts and your entire core must resist the resulting rotational force to keep your hips level. This anti-rotation demand recruits your obliques, transverse abdominis, and gluteus medius in a way that a standard plank — where both hands are grounded — simply cannot replicate. Research by Behm et al. on core instability training confirms that dynamic variations of the plank produce substantially higher activation in the deep stabilising muscles than static holds.
The shoulder tap also develops single-arm support capacity, which is the foundation for push-up progressions, any overhead work, and sports movements that require unilateral upper body strength. By training your shoulder to handle your bodyweight load through a full range of stability demands — from two-arm support to one-arm with a moving load — you're building the structural prerequisites for every pushing exercise that follows in your training progression.
The most common error is rushing the tap. Moving fast creates momentum that reduces the anti-rotation demand and defeats the purpose. Move deliberately: lift, tap, return, other side. Your goal is to keep your hips completely still — parallel to the floor, not rotating — throughout every tap. If you can't control the rotation, widen your foot stance to increase your base of support. Dropping to your knees is also a valid modification; the anti-rotation demand still exists and is still beneficial, just at reduced intensity.
How to do it
- Get into a high plank — hands under shoulders, body in a straight line
- Brace your core and squeeze your glutes
- Lift your right hand and tap your left shoulder, then return it to the floor
- Repeat on the other side — left hand taps right shoulder
- Move slowly and controlled — the goal is to keep your hips still, not to tap fast
Hips rotating too much? Widen your feet slightly — a wider base makes it easier to stabilise. Drop to your knees if needed.
Cool-Down & Stretch — 2 Minutes
Don't stop abruptly after the final circuit. Ending a high-effort session by immediately sitting or lying down traps blood in your working muscles and can cause dizziness, nausea, or unnecessary soreness the following day. A short cool-down allows your cardiovascular system to gradually reduce workload, improves venous return, and begins the parasympathetic recovery response that signals your body to shift from training mode to repair mode.
The three stretches below target the muscle groups most heavily loaded in this circuit: the chest and anterior shoulders (from the push-up), the hamstrings (from the squats and lunges), and the quadriceps (from the slow squat and reverse lunge). Hold each stretch at the point of gentle tension — not pain — and breathe steadily through it. Static stretching after training, when muscles are warm, is significantly more effective at improving flexibility than cold-muscle stretching before a session. Two minutes spent here contributes to better range of motion, reduced next-day soreness, and improved recovery between sessions.
Weekly Schedule & Progression
Start with 3 sessions per week with a rest day between each — Monday, Wednesday, Friday is the classic structure. Begin with 2 rounds of the circuit. After 2 weeks, if the session feels manageable throughout, add a third round or move to a fourth session per week.
Progressive overload is the mechanism that makes training produce results over time. Your body adapts to a given stimulus within 2–3 weeks and then stops progressing unless the challenge increases. With this bodyweight circuit, you have several overload levers available without any equipment: increase the work interval from 40 to 45 seconds, reduce rest from 20 to 15 seconds, add a third round, move to harder exercise variations (full push-ups instead of incline, single-leg squat instead of bilateral), or slow the eccentric tempo further. Any of these changes resets the adaptation clock and keeps the sessions productive. The goal is to make the workout slightly harder every two to three weeks — not dramatically, just measurably. That consistent, incremental progression is what separates people who see lasting results from people who do the same routine for months and plateau.
Common Questions
Is 20 minutes actually enough?
Yes — if you work with real effort during the 40-second intervals. The research on high-intensity circuit training consistently shows that intensity is a more important driver of adaptation than session length. Forty seconds of genuine maximal effort is more productive than two minutes of casual movement. Done properly 3x per week, this session will produce visible strength and body composition changes within 6–8 weeks. The people who don't see results from short workouts are usually not working hard enough during the work intervals, not failing because the session isn't long enough.
When should I progress?
When 2 rounds starts feeling manageable throughout — usually after 2–3 weeks of consistent training. The signal is not that it becomes easy, but that you're completing all intervals without significant form breakdown. At that point, add a third round, increase work to 45 seconds, reduce rest to 15 seconds, or move to harder exercise variations like full push-ups instead of incline, or single-leg squat variations instead of bilateral squats. Apply one change at a time so you can track what's driving the improvement.
Can I combine this with gym training?
Absolutely. This session works well as active recovery between gym days — it keeps blood flowing to muscles without creating enough mechanical damage to impair recovery from heavier training. It also works as a dedicated session on non-gym days for people who train with weights 2–3x per week and want additional movement without overloading recovery capacity. The one thing to avoid: doing this session on the same day as a heavy lower body gym session. Your legs need to be fresh for compound lifting, and combining the two in the same day will compromise both the lifting quality and the recovery from this circuit.
Can I do this workout every day?
No — and not because the session is too hard, but because muscle adaptation happens during rest, not during the workout itself. The training session creates the stimulus; the recovery period is when your muscles actually repair, reinforce, and grow stronger. Repeating the same session daily accumulates fatigue faster than your body can repair and will eventually lead to declining performance, overuse injuries, and a plateau. Three to four days per week with rest days between sessions is the evidence-based structure for beginners. Rest days are not wasted days — they're when the gains happen.
Ready to go further?
Once this routine feels comfortable, it's time to build a structured weekly plan and start adding progressive overload.
Written by Younes Ouba — Founder of SpotyFlex. Full-stack developer and fitness enthusiast focused on strength training and football performance.
Scientific References
- Gibala MJ, et al. Physiological adaptations to low-volume, high-intensity interval training in health and disease. Journal of Physiology, 2012. PubMed ↗
- Schoenfeld BJ. The mechanisms of muscle hypertrophy and their application to resistance training. Journal of Strength and Conditioning Research, 2010. PubMed ↗
- Behm DG, et al. The use of instability to train the core musculature. Applied Physiology, Nutrition, and Metabolism, 2010. PubMed ↗
- Woods K, et al. Warm-up and stretching in the prevention of muscular injury. Sports Medicine, 2007. PubMed ↗
- Trost SG, et al. Correlates of adults' participation in physical activity: review and update. Medicine & Science in Sports & Exercise, 2002. PubMed ↗